Groups
Groups (or distribution lists) are used for creating a single email address that can be used to deliver emails to multiple users. There is no limit to the number of groups you can create and groups can be used internally as well as externally.
Create a group
To create a group, first login to our SchoolEmail Portal.
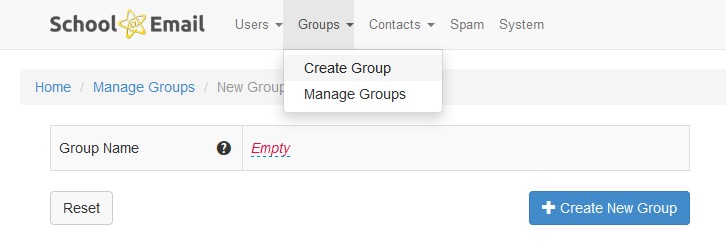
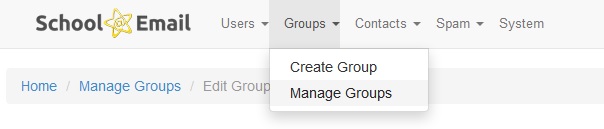
Login with your username and password. (Administrators only) Then using the navbar at the top go to Groups > Create Group.
There is only one field to fill in when creating a group and that is the group name. Add the name into the field and click the blue tick icon to confirm the name.
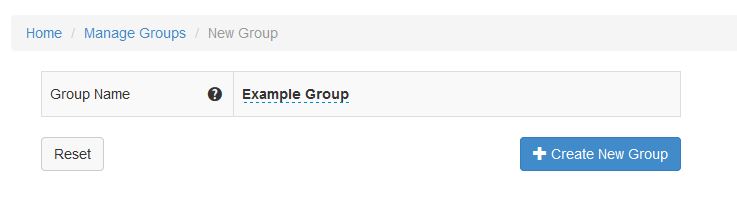
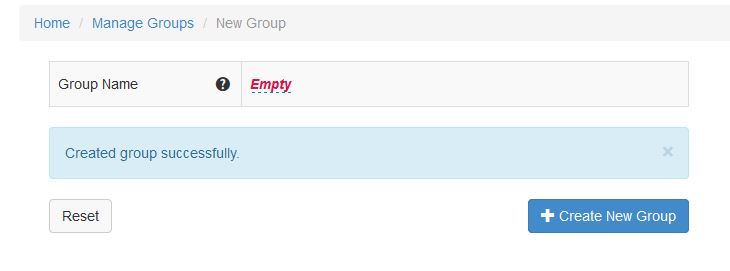
Now click the blue ‘Create New Group’ button and your new group will be ready to manage. To start adding users to this group or to change any settings such as the groups email address, please see the manage group guide below.
Manage a group
Groups can be managed through our online portal. You can change the group name and email address, as well as being able to add and remove users.
Note
The default groups ‘Fullschool’, ‘Teachers’ and ‘pupils’ are locked and updated automatically. You can still choose to hide the group from the address list as described below.
To manage groups, first login to the SchoolEmail Portal.
Login with your username and password. (Administrators only) Then using the navbar at the top go to Groups > Manage Groups.
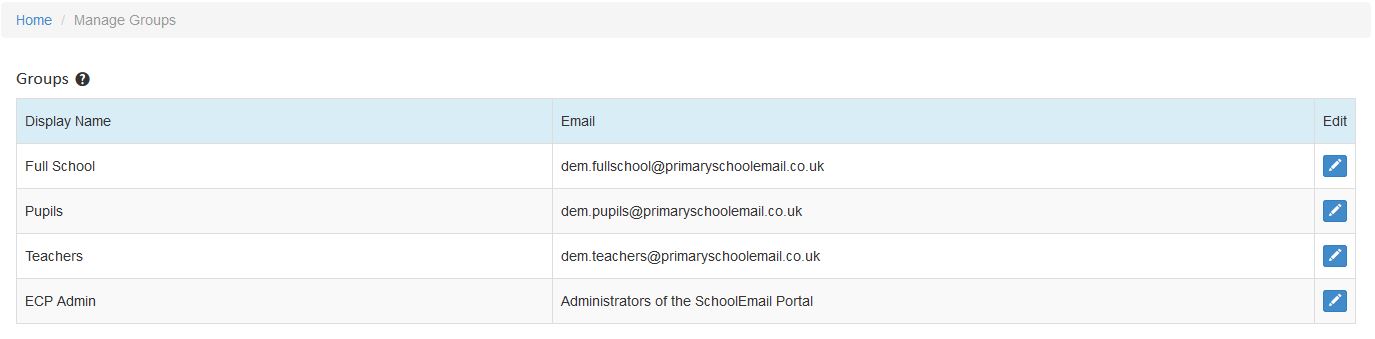
On this page you will see a list of all your distribution groups including the default system groups. Click the blue pencil icon next to the name of the group that you would like to change.
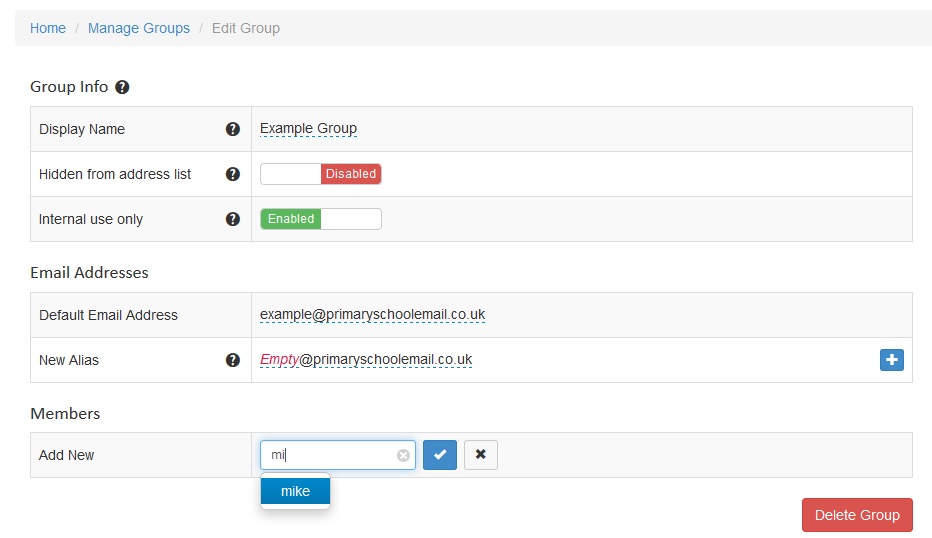
This is the edit group page. You can edit the display name, hidden from address list, internal use, email addresses and members, as well as delete the group. Click any of the values and when you click the desired value, a box will appear and will allow you to add/edit the value, once changed click the tick box to save your changes.
Two of the options are switches, these are hidden from address list and internal use only. Click these to enable or disable these features. When hidden from address list is enabled, this group will no longer be visible in your address book.
When internal use only is enabled, the group can only be emailed by users within SchoolEmail. Adding members to the group requires you to begin typing the name of the user you wish to add in the ‘add new’ field. A dropdown box will appear as you type the user’s name. Click the user that needs to be added and then click the blue tick icon to add the user to the group.
Giving a user portal access
You can give any existing user access to the SchoolEmail portal, if you need to give a user access to the portal that doesn’t have a SchoolEmail account, you will need to create them one. To create a new user, please see our guide create a user. To give an existing user access to the portal, first login to our SchoolEmail Portal.
Login with your username and password. (Administrators only) Then using the navbar at the top go to Groups > Manage Groups.
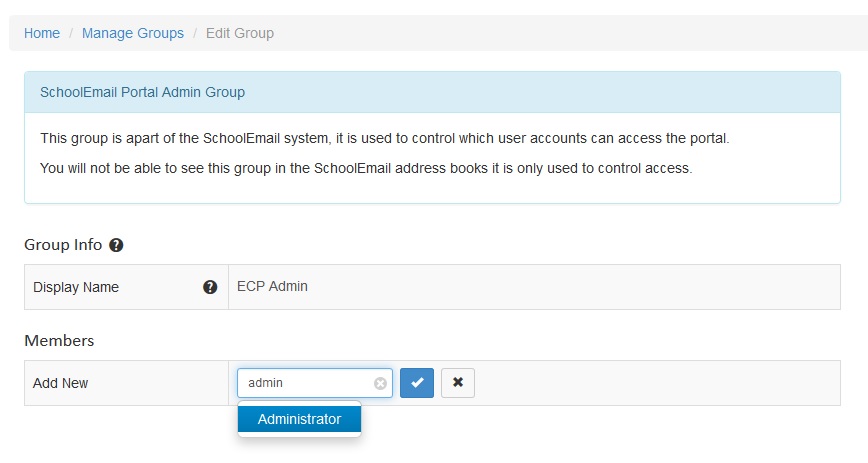
On the manage groups page you will see a list of all your distribution groups, including the default system groups. Find the group that is named ECP Admin and click the blue pencil icon to the right of it.

Once you are in the ECP group page, you can add new members by clicking the ‘add new’ field below the ‘Members’ header. Begin typing the name of the user you wish to become a Portal Administrator and a dropdown box will appear.
Click the user that needs adding, then click the blue tick icon to add the user to the group. You will be asked to confirm your selection. Once confirmed, the user will now have access to this portal. They will now be able to login to the SchoolEmail Portal with their SchoolEmail account.